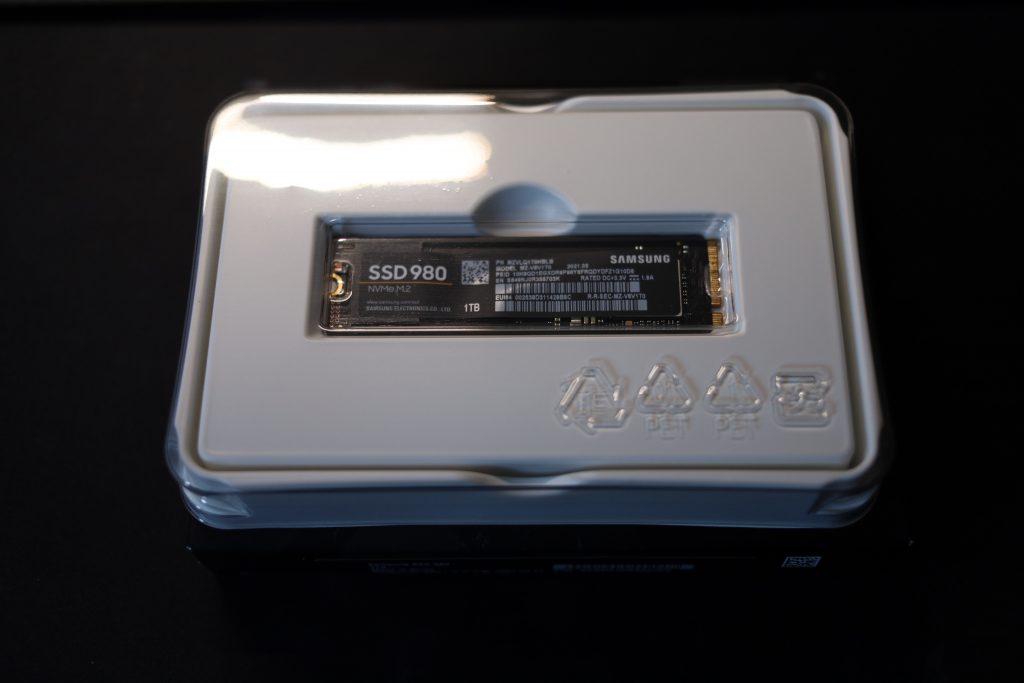
It is really easy to add a Samsung 980 NVMe M.2 SSD to a ThinkPad P1 Gen 2. The only tool you will need is a screwdriver. I used the Xiaomi Wowstick 1F+.
A pry tool also helps, but you don’t absolutely need one. My 3-day-old fingernail will suffice. Let’s get started.
Take out the SSD and marvel at its size and weight.
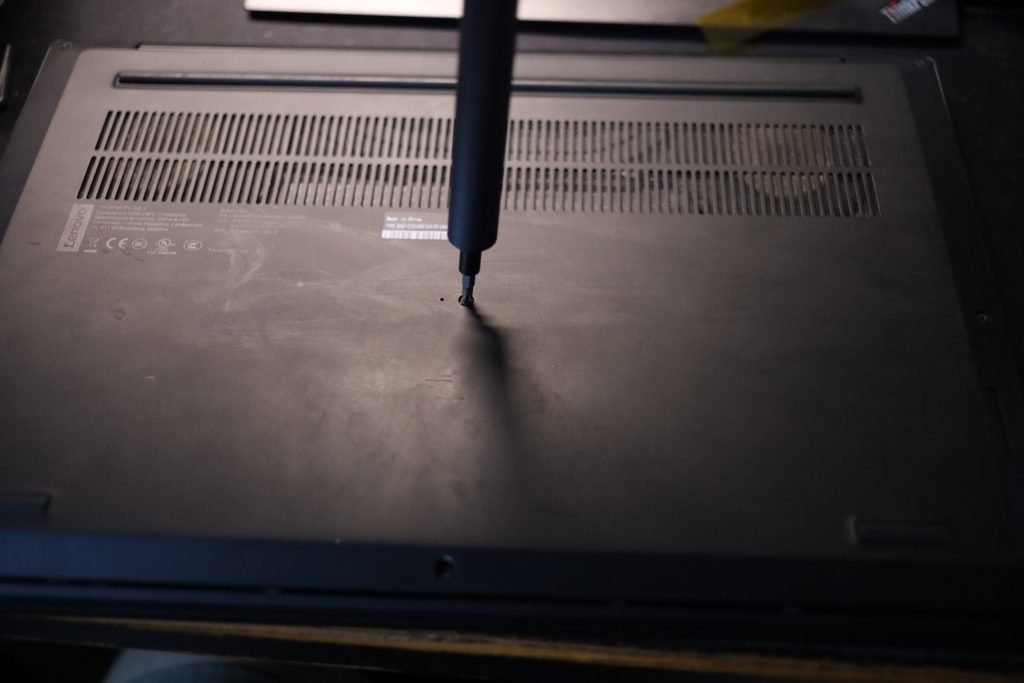
As a precaution, turn off the battery in the BIOS. Restart the P1 and hit the enter key when it reboots to access the BIOS.
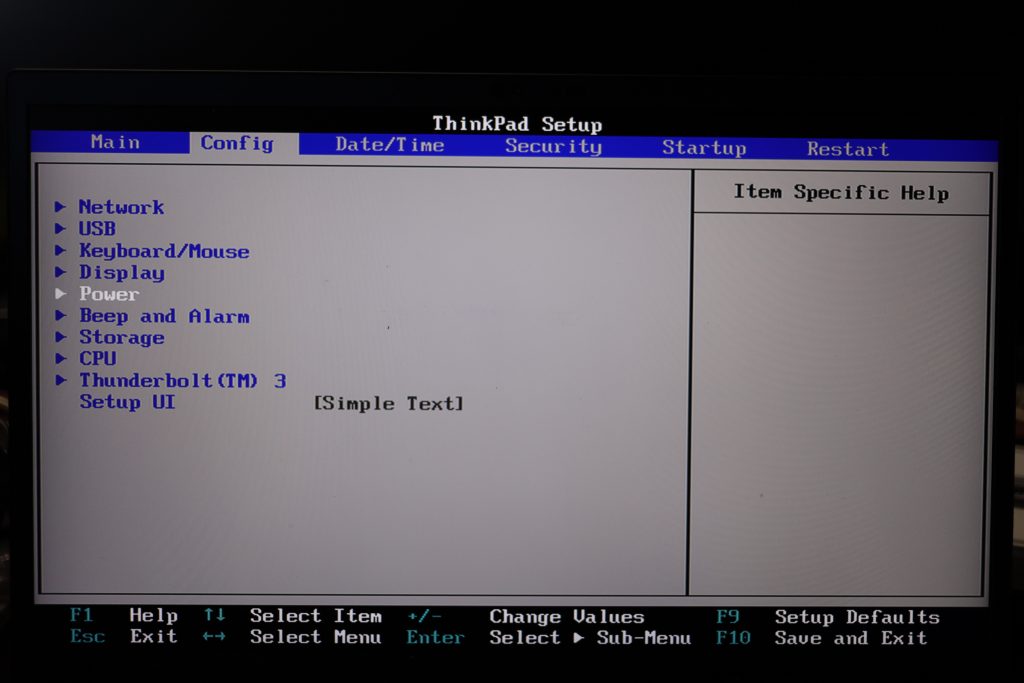
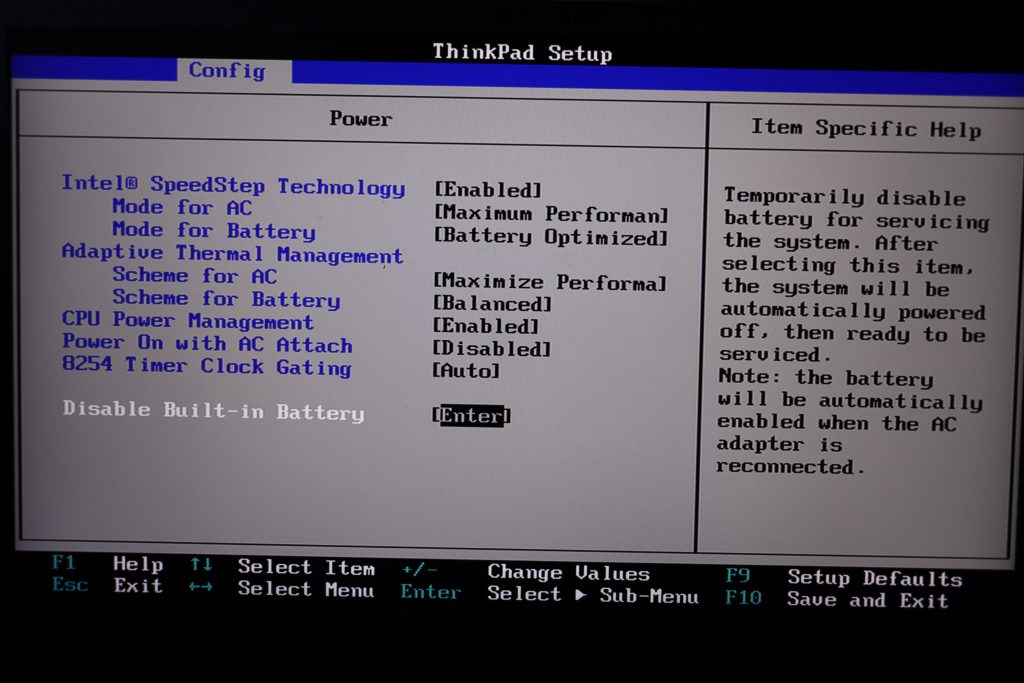
Your screen should turn off and the laptop is now powered down. Flip the laptop on its back.
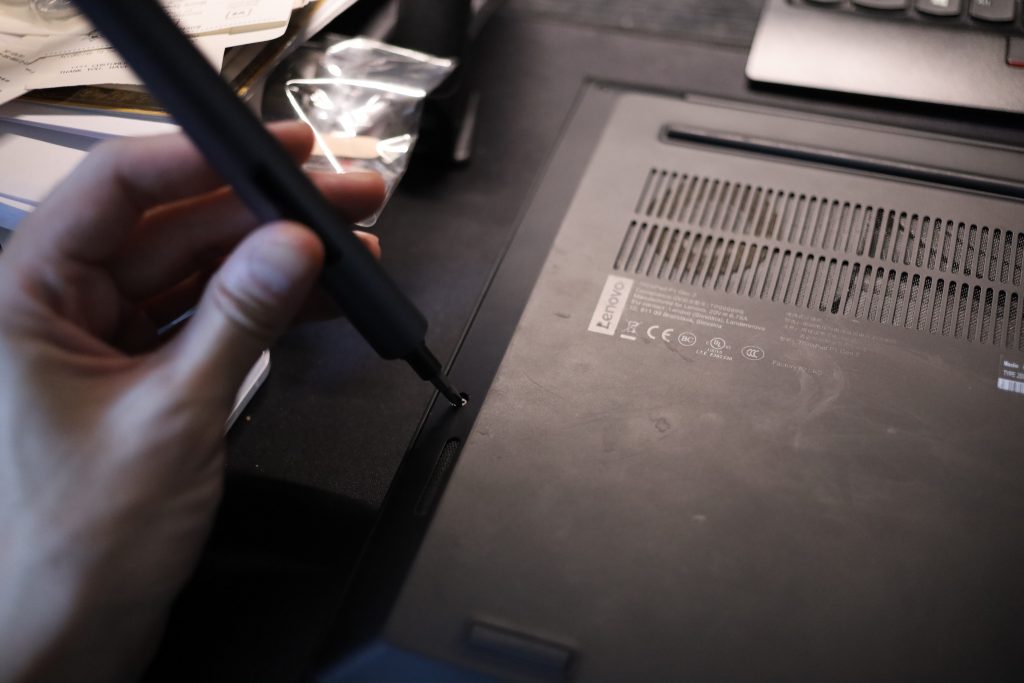
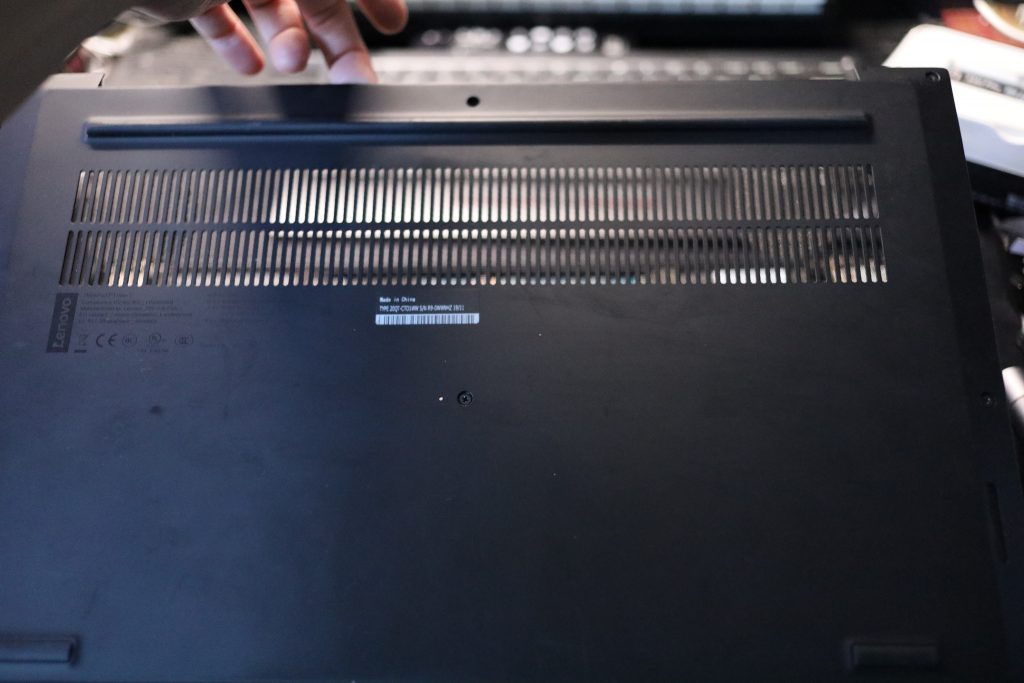
As added precaution, you could disconnect the battery cable. I didn’t. But, you could.
See that screw to the right of the empty m.2 slot?
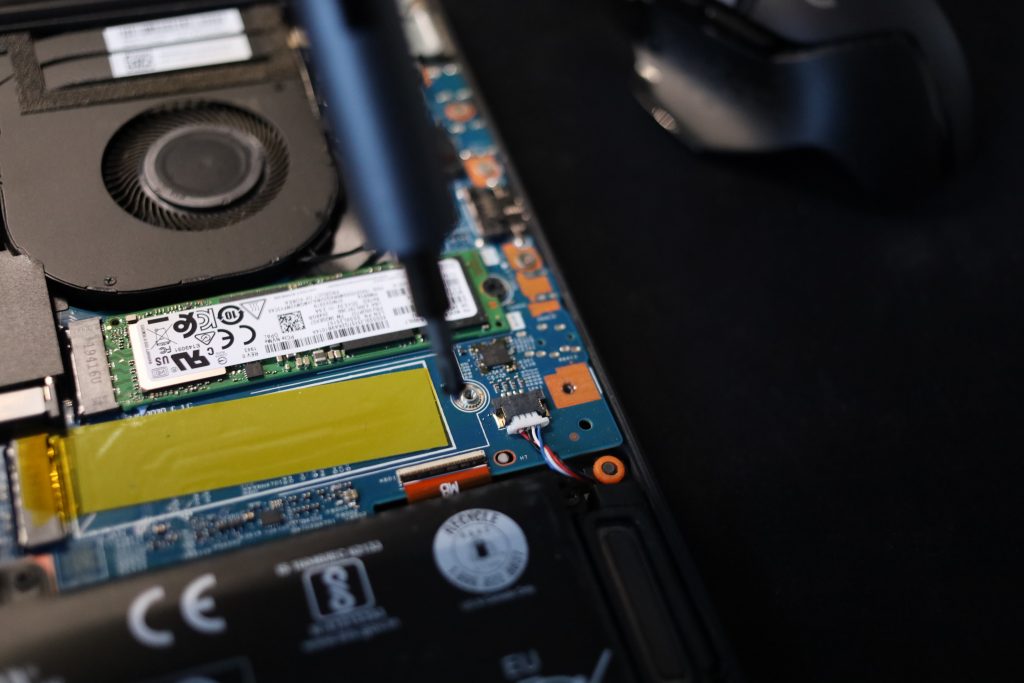
Next, remove the mustard coloured strip. Line and orientate the SSD to the empty slot. There is only one way for the SSD to go in. Carefully push it in and secure the SSD with the screw. If you disconnected the battery cable, reconnect it now.
Then, replace the bottom panel and ensure it snaps back in.
Connect the power cable to the laptop. Press the power button and turn it on. You should boot into Windows successfully. Hit the windows key, type "disk manage" to load the Disk Management utility. You should see a disk with 931.50 GB marked as "unallocated".
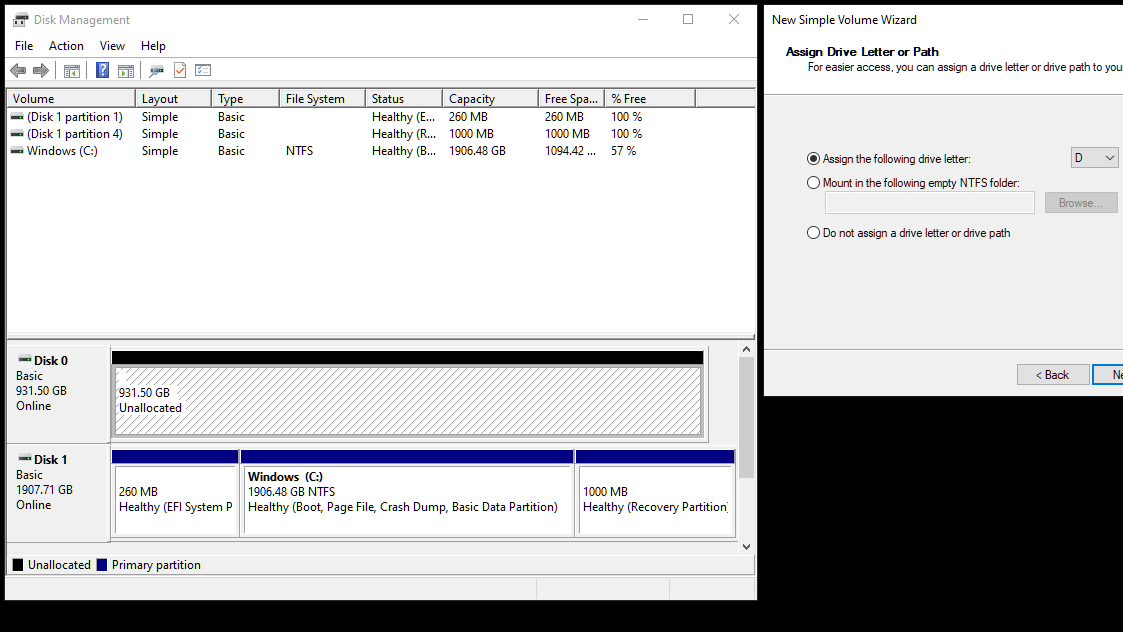
Right click on the unallocated space, assign a drive letter (D), click next and partition it as NTFS. I let Windows use all of the unallocated space as one partition.

I rate the upgrading process 10 screws out of 9 slots.
